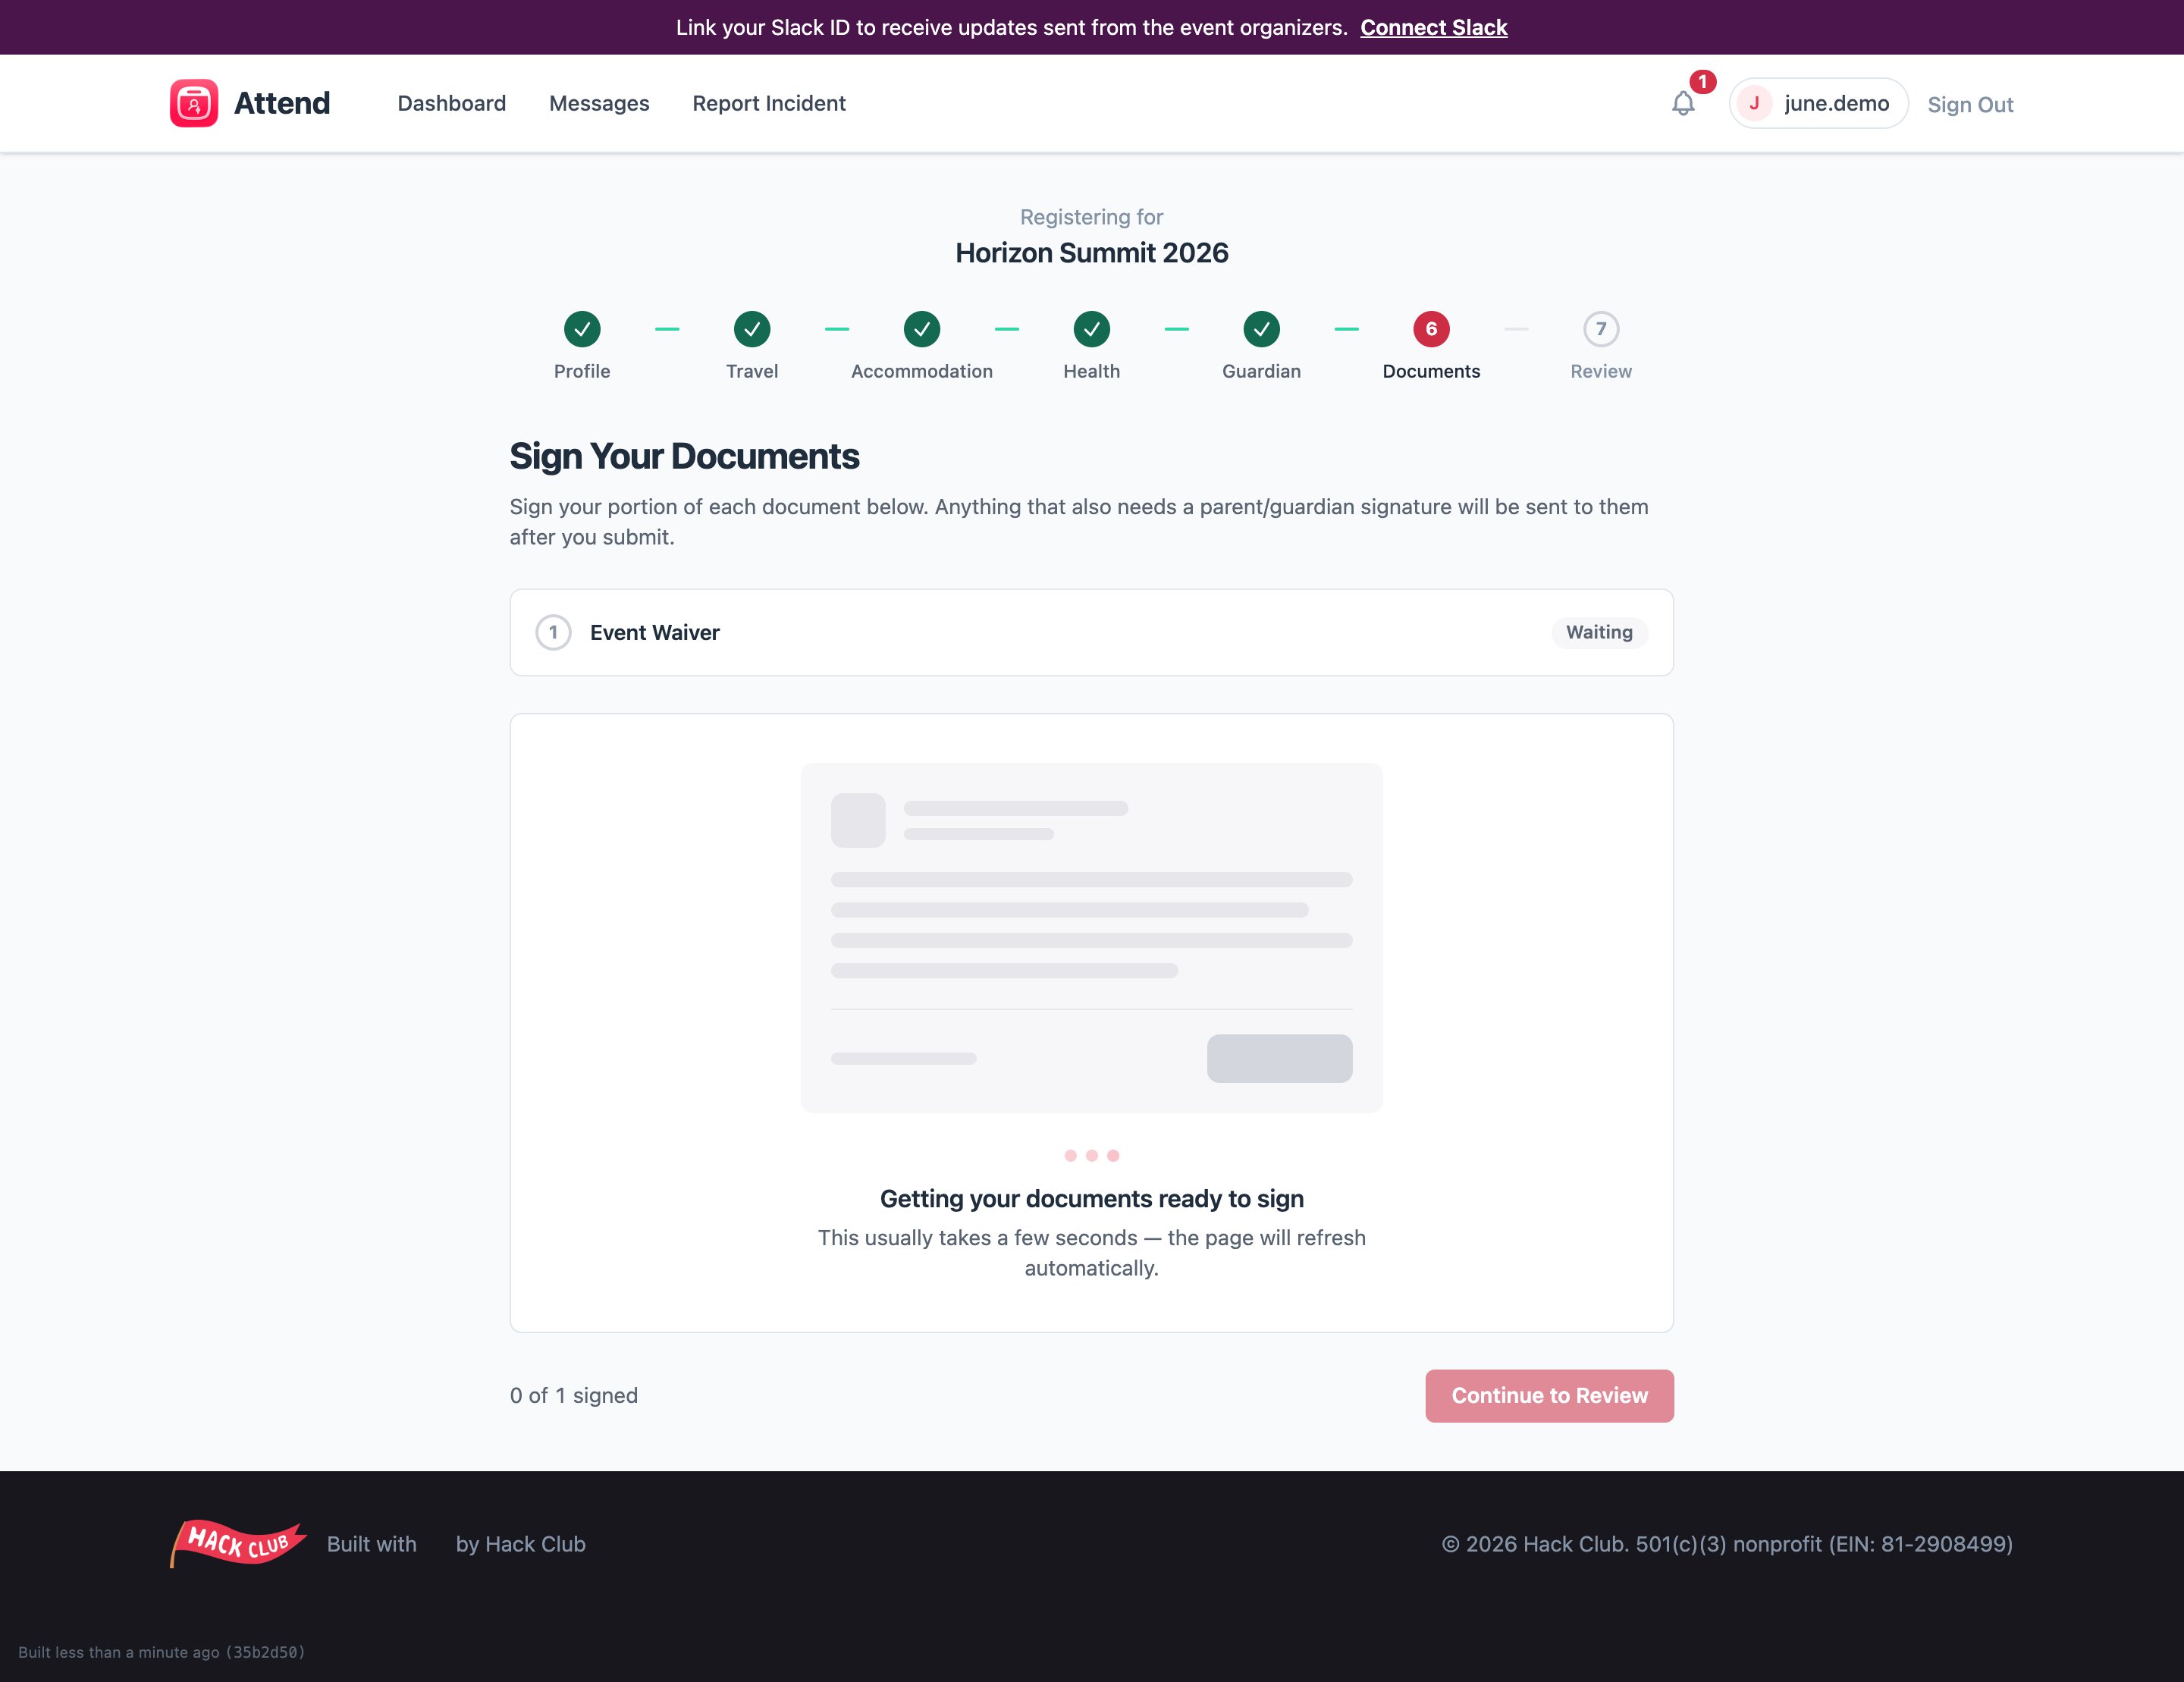
Signing during onboarding
The Documents step lists everything you need to sign, one at a time:- The current document opens in an embedded signing window.
- Read it, fill any fields, and sign with your finger, mouse, or by typing your name.
- When one document is signed, the next one loads. The step is complete when everything non-optional is signed.
What the statuses mean
- “Getting your documents ready to sign” — the document is being prepared on our end. This usually takes a few seconds and the page refreshes itself. If it’s stuck for more than a few minutes, come back later — your progress is saved.
- Waiting — that document is queued behind the one you’re currently signing.
- Failed / retry — occasionally document preparation hiccups. You’ll see a retry button; click it and it usually works the second time.
Optional extras
Some events offer optional documents — for example, a waiver for an off-site activity. You can add one with Add and sign, and remove it again if you change your mind. If an optional document needs a parent signature, adding it emails your guardian automatically.Signing after you’ve submitted
If organizers add a new document later, you’ll get an email (“A new document needs signing”) and it will appear on your event page under Documents. Click it to sign the same way.Documents signed on paper
Some documents can’t be e-signed and must be printed and physically signed — see Physical (paper) documents.Your waiver comes right after you submit onboarding. Signing your half is what moves your registration forward — if you’re under 18, your parent signs their half separately.